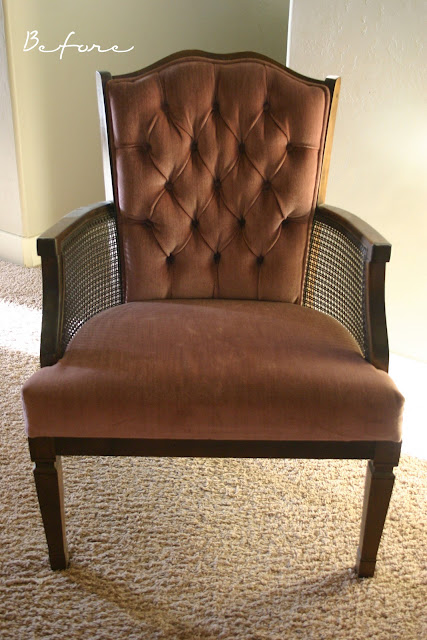
I found her at a yard sale well over a year ago and have been putting off her transformation until I had the guts go forward. I have never reupholstered before and I had to research the process right?... (for a year and a half? says my DH) My husband moved this chair to 3 different houses in the last year and this last time he was ready to drop them off at a thrift store! No!!!!
So now I am finally giving this chair love and attention that she needs. She was in perfect condition aside from the dated mauve velvet... on for her new look....
Just a warning that this is my first upholstery project, and while she is not perfect I think we'll keep her.
First I removed the black cover fabric, and then removed the seat... then removed the million staples.
Next I removed the staples and fabric from the back of the seat and removed the old cushions and fabric. Then I spray painted the frame using Rustoleum's Satin Nickel Metallic Paint.
Next I replaced the cushion and cut out the same shape using new foam. No diamond tufting for me...Hey! this is my first upholstery job, cut me some slack!! :)
Then I stapled that fabric and then the foam to the back of the frame
Followed by stapling around the frame and trimming the fabric.
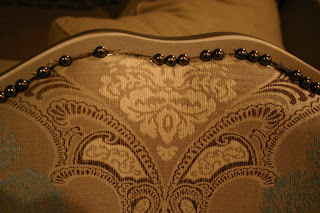
Next I took my trusty nailheads and started tacking them into the frame.
I found these on ebay and they were so cheap!! 1000 nailheads for around $18 after shipping. I am still planning the many projects ahead. The only interesting part was the packaging. The Hefty OneZip is the packaging I received them in... But I'm not complaining they have been a great investment!
In some places the nailheads couldn't reach the back of the frame, I later glued these in using my gluegun.
Finally, Sorry in my bad blogger style I forgot to take pictures of the new seat cover and applied piping for the edge.
And here she is all finished...Beware... lots of pics...
And here she is...my attempt at staging...
All done and many more projects to go! Stay tuned!


