Showing posts with label Sewing. Show all posts

Thursday, February 21, 2013

Semi-Homemade Minky Blankets

Last year I made several minky blankets for babies.  The first one was for my niece.  This blanket actually was not semi-homemade but SO easy.  I bought about 1 1/4 yards minky fabric and 1 1/4 yards of a cute pink cotton fabric.  I wanted it to be a little larger than your average baby blanket so I used the full 1 1/4 yards, cleaning up the cut edges so that they were straight. 

Pin the fabric right sides together, surge or zigzag around the perimeter, pulling out the pins as you go and leaving a small opening.  Pull the fabric inside out through opening.


Tuck the openings raw edges under to match the rest of the sewn edges and pin shut.  Sew again using sewing machine single stitch around perimeter again about 1/4 or 1/2 inch from edge.  And you are done.  That is about as easy as it gets.


The next blankets I made in a hurry I was invited to a baby shower for a friend having twins, and  didn't want to spend the time and money buying the minky so I ran to Ross to pick up some inexpensive baby blankets $4.99--which is a steal for minky and the blanket binding. Her nursery colors are blue and green.  I found two matching bright blue blankets, ran to hobby lobby next to pick up some green fabric and thread and went to work.

 
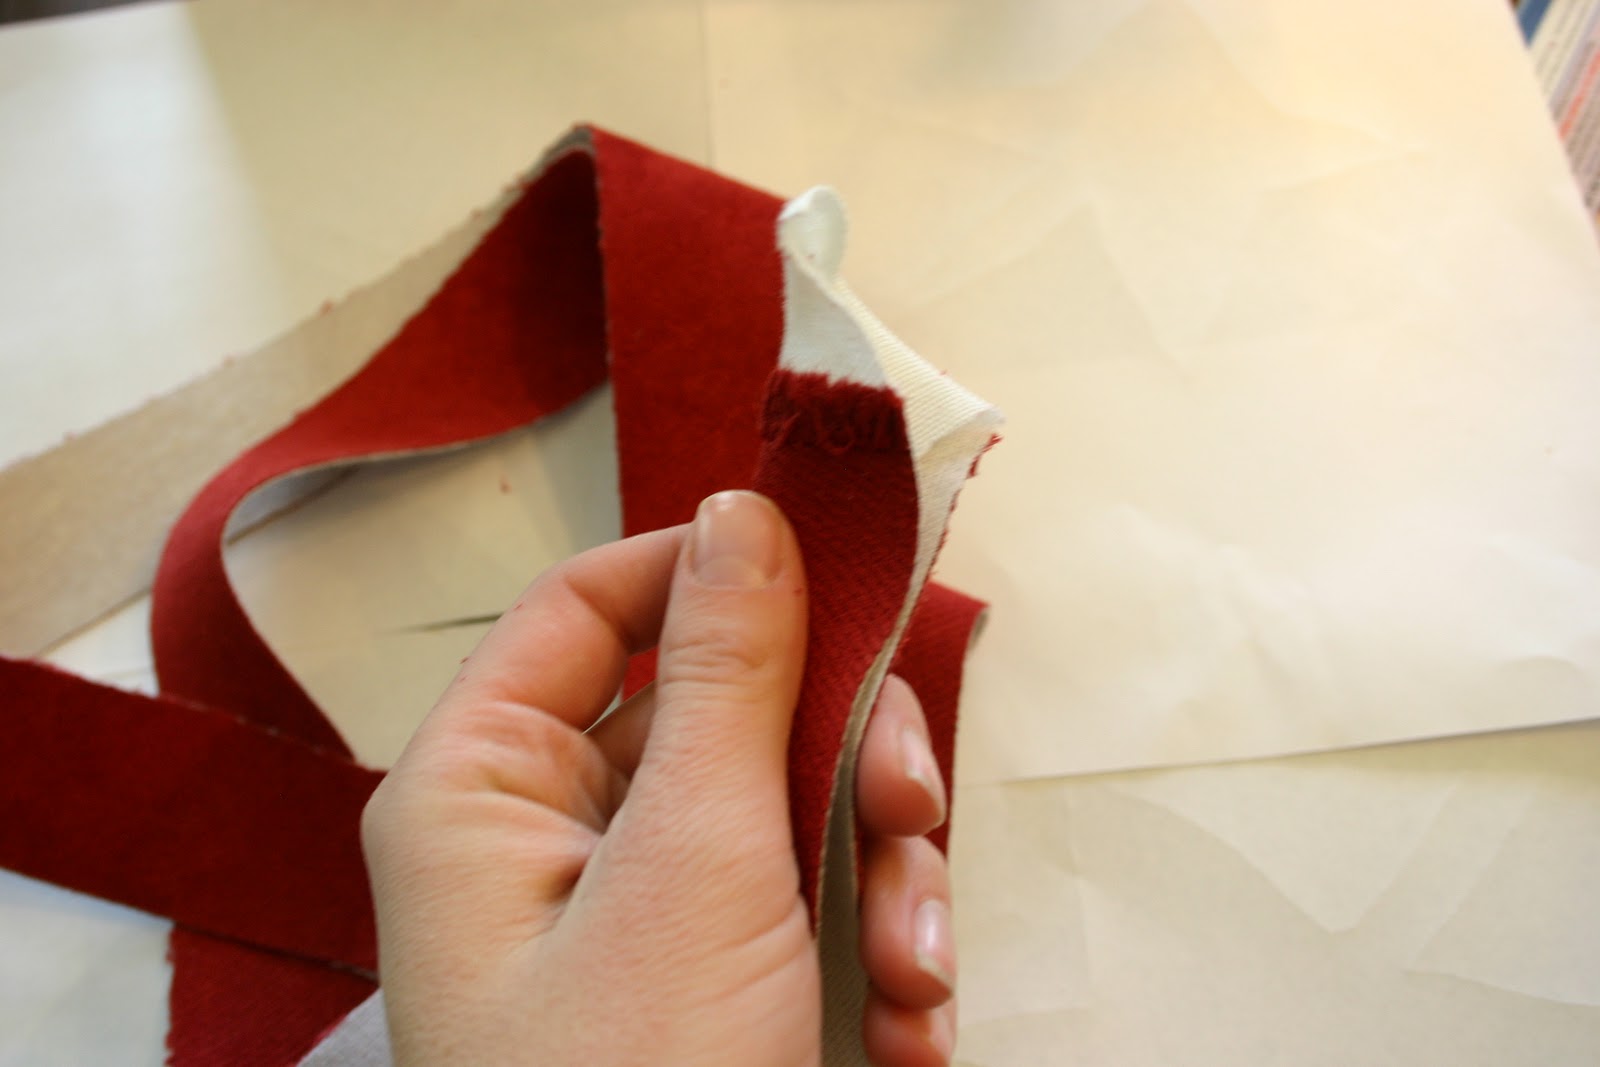
First I unpicked the blanket binding from the Ross blanket.
 
 
Next I cut my fabric to the same size as the minky blanket and pinned them to gether this time wrondg sides together, because the binding covers the raw edges.  Here you can stitch or surge  the fabric and blanket together for a stronger hold.
 
 
Next wrap the binding back around the blanket as before and pinning in place on one side.
 
 
Next flip the blanket over and pin again.  The goal is to make sure that the binding does not move and is fitted evenly to both sides.
 
 
Next topstitch carefully along the same lines as the binding was sewn on before. I ending up using blue thread and not the green pictured, I am not the best at sewing straight and my lines did not show up as much using the matching thread.
 
 
Then I folded the blanket and put it back on its original hanger, and it is now gorgeous and one of a kind, well in this case,  two of a kind.
 
Happy Sewing!


Thursday, February 9, 2012

My Slipcovered Sofa

BBB (Back before blogging)  I had these two couches, which my husband and I purchase when we were first married.  They actually don't look to bad in this picture.  But in person they were a mess.  With spots and stains (from my beautiful children) and faded yellow spots from sun damage, they needed lots of help.  My husband just wanted to replace them. But aside from the cosmetic damage and the dark green color they are in really great condition, just needing a face lift.  My goal?  To slipcover them. 


 I started with Miss Mustard Seed's slipcover tutorials, then moved on to free Youtube videos, and figured out how to make them piece by piece. There are also slipcover tutorials that you can purchase, that I am sure save you a lot of time, and I was wishing I had bought one...but it is possible to do it without.  I will warn you that making your own slipcovers takes HOURS and HOURS!!  One night (because I have 4 kids to take care of) I stayed up the entire night just to get ahead and to work on them without interruption.  But now they are finished and as imperfect as they are I still love them!  

The best part is that I can throw them in the washer and they look like new again!

The worst part?  They were so close fitting, they can be difficult to take on and off!
I really struggled with the zippers--being an intermediate to beginning sewer this was the most difficult part for me!  Also the skirt was challenging.  But that is because I had to guess how to sew and fit them myself.
 I used close to 30 yards of fabric at $5.99/yard for both the sofa and loveseat. 

And here is my loveseat again all finished.  The damask pillows I printed and made myself, you can read that tutorial here


Thanks for the visit!  This project was time consuming but SO worth it!  And yes, I would do it again, just not right away.  ;)

Thanks for the visit!


PIY Damask Pillows


PIY stands for Print It Yourself

Hurray!  I am back and I have an awesome tutorial for you!!  It is how to print your own fabric!!  For the last little while I have been searching and searching for the perfect fabric.  The challenge, was that nothing was within my budget.  I have no desire to spend hundreds of dollars on the perfect fabric.  So instead,  I am obsessed with printing my own fabric and checked out every book on the subject from my local library.

There are many ways to print your own fabric, most of which use stamps or making your own stamp using a lino block.  But did you know you can also print using stencils?  Well, you can and here is how you do it!!


The secret is using "block printing ink."  The ink that I used is a Speedball Block Printing Ink Set   You can buy block printing ink at most craft stores.  I bought mine at Hobby Lobby using a 40% off coupon.  I also bought my stencil at Hobby Lobby using a 40% off coupon (different trip.)  The price on the stencil was $2.99 before the coupon, the individual inks are $4.19 before coupons.   There are other fabric inks that you can buy and if you are doing a large project it is more economical to buy large bottles of ink! 

My fabric is a light gray poly/cotton mix(guessing) that I bought from WalMart, at an easy $1.50 a yard.  Have you ever looked through WalMart's "Undetermined"  fabric?  Its kinda fun.  I will do a post on that soon too, as it is another great way to save money on your craft projects.  So here we go...

How to Print Your Own Fabric:


Supplies:
Fabric
Sponge
Stencil
Block Printing Ink
Iron
  
  1. Prewash and dry your fabric!!  Don't forget this step!!  This will help the ink sink into the fabric better.
  2. Mix your block printing ink.  I used a combination of white, blue and black to make a light gray blue.  I used almost a full tube of white to do just over a yard of 55in fabric.  To get the most uniform look try to mix up as much ink in the beginning as possible, because unless you measure or keep track of the exact mix it may be difficult to match your first color.  Also the ink WILL dry lighter than your original color mix and some WILL wash out.                                                        
  3. Once mixed, keep your ink covered, I used a small plastic bag to cover, in between ink dips.  It dries quickly.  Also you can help this by adding TINY amounts of water(and I mean like small drips) .  Just be careful not to use too much or your print will wash out or bleed all over your fabric.  Another good reason to start with $1.50 a yard fabric--at least until you get the hang of it!
  4. Tape your stencil onto your fabric or use a stencil adhesive. 
  5. Dab your sponge into the ink and blot it to get most of the ink off of your sponge before applying it to the fabric.
  6. Gently blot the sponge with ink into the fabric.  I applied my print by hand, and eyeballed where to put each stencil.  You can make your design more uniform by using a grid in disappearing ink before applying your design.                        
  7. Pick up the stencil and move your stencil to the next spot and apply again. If the stencil overlaps any previous design make sure it is dry before applying.
  8. Apply your design over the entire fabric let it dry to the touch, and then heat set it.  Either by putting the fabric in the dryer for 10 to 15 minutes or ironing the opposite side for several minutes. Make sure to use plenty of heat so that the ink does not wash out!

    Once the fabric is heat set you can wash it or cut and use for any project.  Make sure to use plenty of heat so that the ink does not wash out!  To wash use the hand wash setting on your washer.  Plan on some color variation depending on how well the ink was mixed.


     This is a great way to create your own fabric designs.   I like using ink better than fabric paint, or a fabric medium/paint because the texture, once washed, feels just like the original fabric.
Yea!  At a $1.50 a yard plus supplies, options are endless!!  It is easy, fun and beautiful!! 
I made my fabric into some quick and easy pillows...

Cut 2 18.5" x 18.5" squares. Sew fabric right sides together leaving a fist sized whole open, pull the fabric inside out and stuff with filler Use your sewing machine to stitch the opening together and VOILA!  So easy and gorgeous!


What do you think?  Are you going to try this?  I would love to see what you do with your own fabric!

Happy Printing!

Monday, January 9, 2012

Boys Camoflauge Birthday Party Part 1

I mentioned in my last post that my son's birthday was last week and in blogger style I went a little overboard with decorations!  We had a fun and crazy group of 17 kids!! 
My husband is a hunter and my oldest son loves to go with him on deer and elk hunts.  So there really wasn't a better party theme for his 8th birthday.  We were careful however, to keep the hunting theme really tame so we would not offend any parents.

We started by brainstorming typical hunting/camping gear and settled on backpacks.  I found some camoflauge fabric and we made all 17 kids a mini drawstring backpack.  This was the most time consuming part.  We (my little sis and I) followed a tutorial on Youtube to learn how to make them and they were really easy.  The only thing that I did differently was to surge all of my edges and the straps we used were just heavy fabric folded and surged on one side.  The eyelets that we used on the bottom were from Wal-Mart.  I would definitely reinforce these if you aren't using a heavy duty fabric.


The backpacks were a huge hit!!  The kids of all ages loved them. 
On to the rest of the decorations...

Minutes before the party started I arranged everything on our buffet and took a few shots.  Unfortunately, I wish I could go back and tweak a few things but, being the procrastinator that I am this is what I got!

I made and printed all of the banners, labels, and cupcake tags myself on the computer and printed them. 


Cupcake tags printed on paper and glued to toothpicks. 


To make the banner I just trimmed down some sheets of construction paper to fit in my printer and printed directly on it.  Then I cut out the letters and taped them around a strand of twine.  I loved how the construction paper curled a little more than regular paper.  I think it gave the banner a little more dimension. 


I also made little labels for the mini water bottles.  I wanted them to write their name on each one.  If I could go back I would just type the name on each, it's much faster!!


We played lots of games and for every game that the children played they earned goodies to take home.   Like these pencils and notepads

Stay tuned for part 2 of this party and I will tell you all of the games that we played and other fun activities!

It was so much fun!! 

PS.  You can read more in part 2 here


Linking to:


Visit thecsiproject.com

Monday, December 5, 2011

How to make a cuffed stocking


Yesterday I posted pictures of my stockings and mantel.  Here is the tutorial to make your own piped, cuffed stockings.

First Fabric.  You can get by with just 1/4 yard of each individual fabric, depending on the size of your stocking, however I like to have at least 1/2 yard and use the leftovers for other projects.  1/4 yard for cuff and 1/2 yard of velvet for cuff/piping.
Create a pattern from another stocking and parchment paper leaving a 1/4 in seam allowance or use the cuffed stocking pattern Martha Stewart here.

Cutting out cuff and stocking patterns


Use pattern to cut out two sides of the stockings


Cut contrasting fabric into strips for piping


Fold piping strip in half 


Baste stitch the folded piping in half


Tack/ baste stitch piping to one side of fabric outside edges together.
Cut to go around the the rounded edges of the stocking more smoothly


Pin stocking cut outs right sides together.


 Sew fabric right sides together following around the piping 1/4 in from the inside. It is easiest to use your fingers as a guide


Of course my camera's battery died right here, so I had to finish up this tutorial on a different stocking...
Cut two rectangles of fabric for the cuff and sew sides right side together.
  Sew right side of stocking and wrong side of cuff together. 


Hide the seam into the top of the stocking.  I used my surger to finish the edge, if you use a suiting/knit fabric like I did that easily unravels you will want to zig zag all of your seams.   


Fold under cuff and tack or use fabric tape


Fold over grosgrain ribbon and sew to inner seam.


Tie abow around the stocking hanger


And Hang all done!!


Now go make your own!  So fun!

Happy Holidays!